 The Raspberry Pi is an incredible tool which can be used for a variety of projects. It handles many tasks well, but is not meant to serve as a powerful desktop PC or replace a multi-core server. Since I don’t want to buy a baby monitor that will do what I want it to do (and I want to tinker around with the Pi), I am going to make one myself.
What you will need for this project (for specific details see minimum requirements page 2):
- SD card (complete SD card break-down)
- Raspberry Pi model B (official website)
- Micro USB power supply (I used an old cell phone charger)
- USB webcam (complete webcam break-down)
- Computer with ability to write files to an SD card
- Category 5 (Cat5) network cable or compatible wi-fi adapter
The next section explains the steps necessary to prepare the SD card with the Linux operating system.
- Download the Raspbian Wheezy image (Linux distribution specifically for Raspberry Pi). I recommend doing this first because it might take a while depending on your internet speed.
- Download and install the SD card formatting tool.
- Follow these instructions to format the SD card.
- Unzip downloaded Raspbian wheezy image.
- Write the extracted image file to the formatted SD card using this utility.
- Slide the SD card into the Raspberry Pi’s SD card slot.
Now we will connect to the Raspberry Pi and begin configuration. You will need a terminal emulation client such at Putty to connect to your Raspberry Pi via SSH.
- Connect your raspberry pi to power.
- Connect your raspberry pi to your local network.
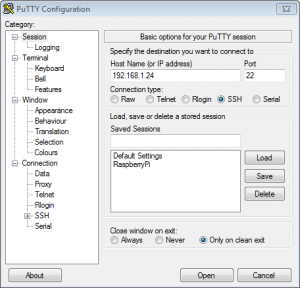
- Using a terminal emulation client such at Putty, connect to your Raspberry Pi via SSH. (You will need to know the IP address of your Raspberry Pi. I found mine by checking the DHCP logs of my home router.)
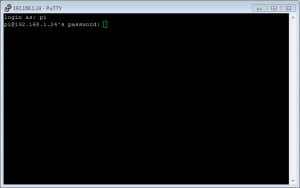
The default username of the raspberry pi is “pi” and the password is “raspberry”.
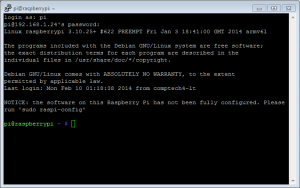
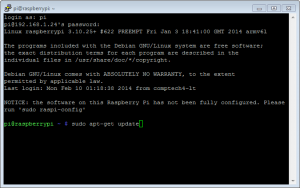
This is what the SSH connection looks like after you login.
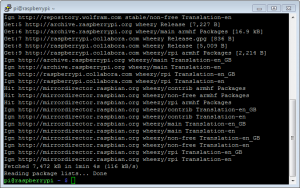
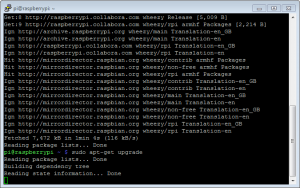
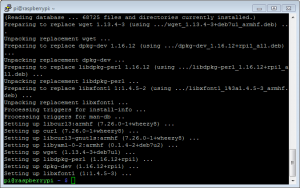
Update your Raspberry Pi to get the latest software and drivers using these two commands:
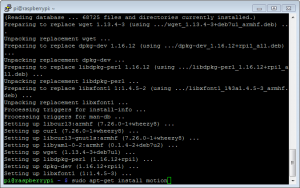
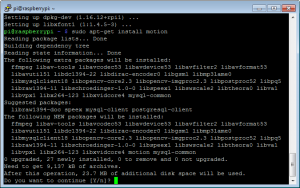
Install and configure the free linux software “motion”:
The following warning will appear at the end of the installation:
“[warn] Not starting motion daemon, disabled via /etc/default/motion … (warning).”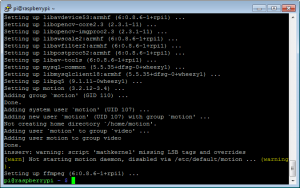
There is a change we must make in order to allow the daemon to start automatically. Enter the command:
Change the value “start_motion_daemon=no” to “yes”
Press “Ctrl” + “X” to exit. Press “Y” to save and “Enter” to continue.
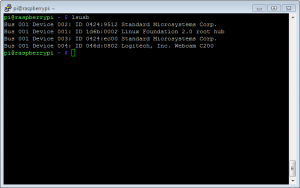
Connect your USB webcam. You may need to connect your webcam to a USB powered hub so it can get enough power to turn on. Type the command:
You should see console output indicating that the device was recognized by the operating system. You should be able to see the webcam manufacturer name such as
“Bus 001 Device 004: ID 046d:0802 Logitech, Inc. Webcam C200”.
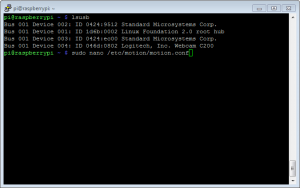
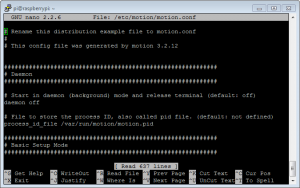
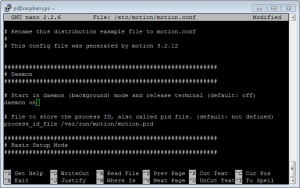
Now we will configure the motion software. Enter this command to edit the configuration file:
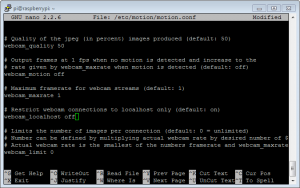
sudo nano /etc/motion/motion.conf
Change “Daemon = OFF” to “ON” and “webcam_localhost = ON” to “OFF”
Press “Ctrl” + “X” to exit. Press “Y” to save and “Enter” to continue.
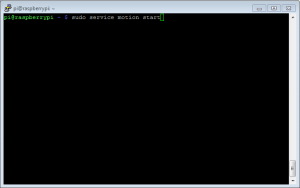
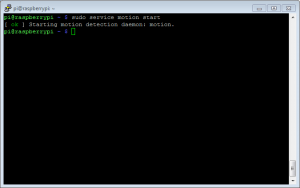
Start the motion software:
After about 30 seconds, browse to the web interface of your raspberry pi by entering this URL:
http://192.168.1.24:8081
You should see an image that refreshes about twice per second.
REMEMBER: Change the IP address from my example to whatever the Raspberry Pi’s local IP address is on your network!
NOTE: I first tried to access the web interface using Google’s Chrome browser and it didn’t work. Neither did Internet Explorer. Mozilla Firefox did work. It has to do with support for moving jpeg images.
Additional customizations:
Open the configuration file
To make the camera title appear, edit the motion.conf file:
sudo nano /etc/motion/motion.conf
Find the line “; text_left CAMERA %t” and remove semicolon and space. Restart motion service:
sudo service motion restart
I also decided to make my video feed externally accessible. I had to do this by logging into my home router. In the firewall settings I had to direct external requests on port 80 to the internal IP address for the Raspberry Pi. I would detail the process here but it varies by router manufacturer. Now I can enter the external IP address of my home router on my iPhone’s browser and it will bring up the video feed.
This page provided significant inspiration to me:
This is a good two-part youtube tutorial on customizing the config file:


Leave a Reply